With the introduction of modern word processors replacing old manual typewriters many things changed. One of these things is the way we can format and decorate the produced texts.
While writing a letter, an article or something else, we are now able to use different fonts, make the text bigger, smaller, bold, or use a different color. Another interesting thing we can do is add some graphical decorations, one of them being horizontal lines to separate various sections of the text or simply make them more visible.
But how do I insert a horizontal line in Google Docs?
I had the same problem, so I’ll share the solution with you.
Google Docs horizontal line: One problem, 3 solutions
As we will see, there’s a predefined way to insert an horizontal line in a Google Docs document, but this feature is pretty simple and with only a few options, so we will see two other options that could better fit your needs.
The standard method – adding a line from the Insert menu
I call this the standard or predefined method as it involves the “Insert a horizontal line” feature of Google Docs. This is what the Google developers decided to directly offer us as a feature.
Let’s see how to add lines on google docs the standard way!
- The first step is obviously to open your document and position the cursor where you want to add your line.
- Now open the insert menu and find the “Horizontal line” option.
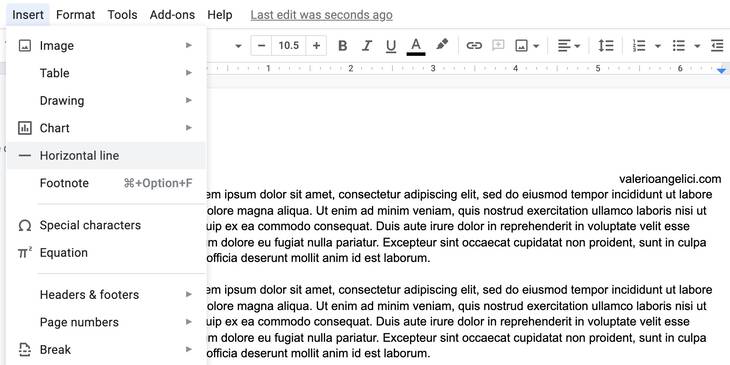
- Click on “Horizontal line” and the line will appear.
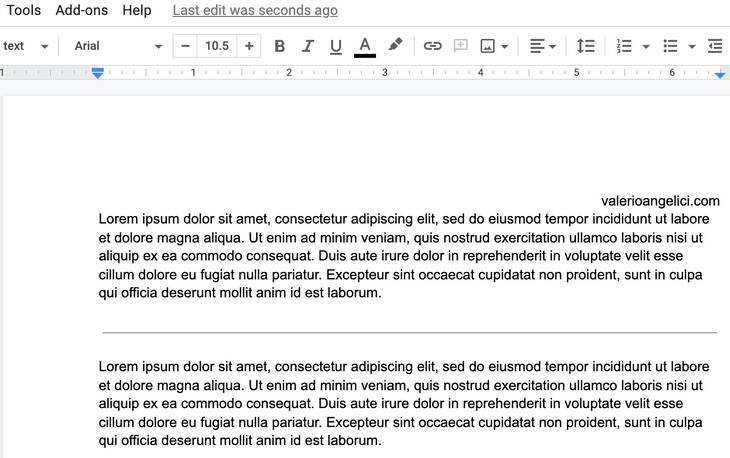
- That’s all, this is all you need to do to insert a simple horizontal line in Google docs to separate text sections.
- As we stated earlier, there is not so much you can do to this line to customise it, there seems to be only one thing you can do, and honestly it’s not even a great feature.
- You can highlight the line background, exactly as you highlight text portions.
- The first step is to select the line, just like you do with text, with the mouse or using the keyboard.
- Then you click on the “Highlight color” tool from the toolbar.
- A color selection box will ask you to choose the color you want to use to highlight.
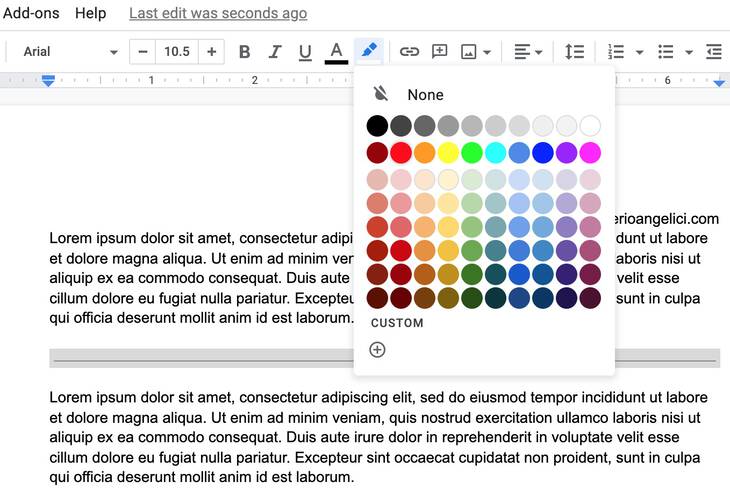
- Once you select the color you want, the box will close and the line will be highlighted.
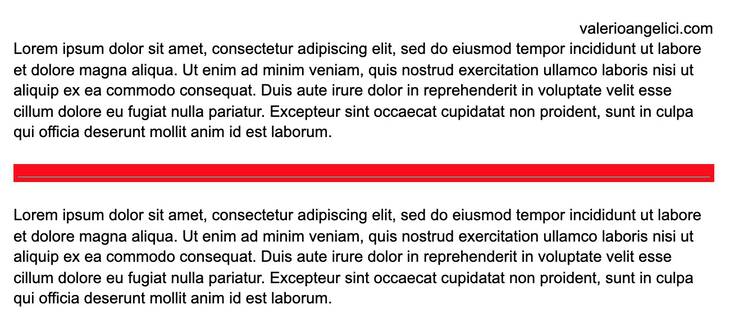
- I think this is almost useless for everyone, the final result is not so aesthetically attractive.
- To remove the highlighting, simply select the line again, go again to the “Highlight color” tool and select None.
Removing the line
- The line we just created is like a piece of text, so we can move it around, select it, copy and paste it.
- To get rid of one of these lines you can do just like with any piece of standard text, position your cursor after or select it, and hit backspace.
As you can see, there’s nothing special on this method, but it’s the best, easiest and fastest way if you only need a simple black thin horizontal line. It’s surely a very good option in formal, simple, black and white documents. There are situations where you need a bit more, you want to make the line thicker, in a different color, or something else. For these situations you better keep reading to discover some more customizable ways to draw a line in Google docs.
A bit more customization – The paragraph borders way
We just saw the less customizable way on Google Docs to insert an horizontal line.
The next step is another simple and effective way to put a line in google docs that offers a little more freedom to make the line as you want it.
We will use the paragraph borders feature. This offers a basic set of features that are a good compromise between ease of use and customization.
- The first step is, as always, to open your google doc to the point where you want the line.
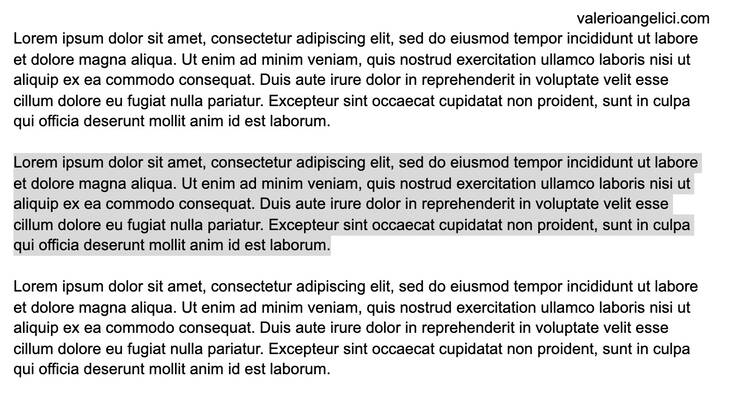
- In this case I want to add lines to a paragraph so it’s visually highlighted on the document.
- We start by selecting the paragraph.
- Then we open the Format menu.
- Choose Paragraph styles.
- Click on the Borders and shading option.

- The Borders and shading window will open, giving us some options to design our lines.
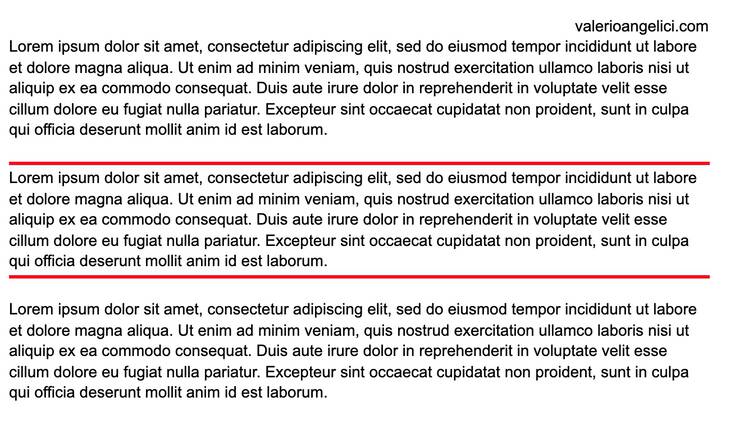
- I will choose both the top and bottom border positions to generate a line before and one after the paragraph. You can choose only one of them if you need only a line.
- Then we can select some other design styles for your line, as the width, color, dashing and spacing (padding).
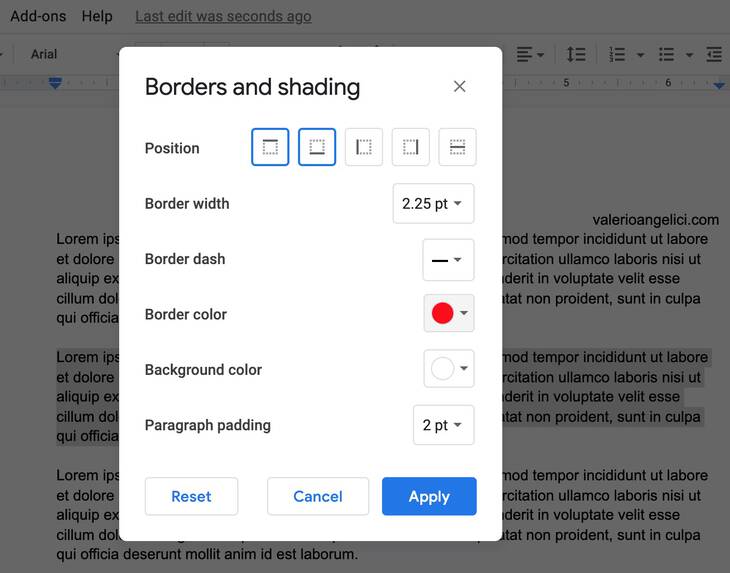
- Once you are satisfied with the style, just click on Apply and the border will be added as you defined it.
- This is the final result with the parameters shown above.
Removing the lines
To remove the lines you just need to select the paragraph again, open the Format -> Paragraph styles -> Borders and shading window, and remove the position selections you made earlier.
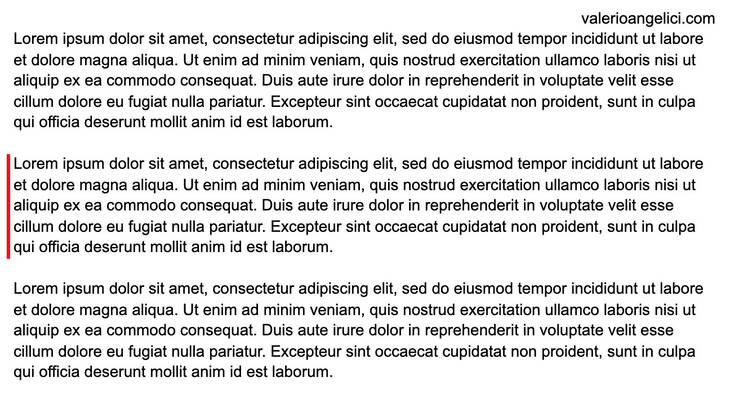
This method enables you to also put vertical lines on the side of the paragraph. This is another nice way to highlight an important piece of text.
Not the easiest but the more customizable – The insert drawing way
With the first two solutions you should cover probably 99% of the needs.
There is the remaining 1%, where you need full customization, or you need something different from what the other solutions offer and you can sacrifice a little more time and effort to get to the result.
This is where the insert drawing tool comes into play.
Let’s see how to use it to add a line to your google doc.
- As always, we start with our google document opened and by placing the cursor where we want to add the horizontal line.
- Then we open the Insert menu.
- Select Drawing.
- Click on New.
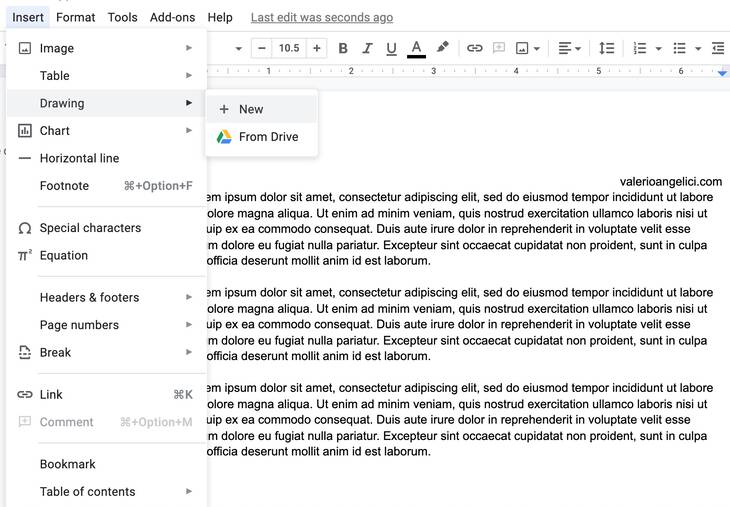
- The drawing window will open.
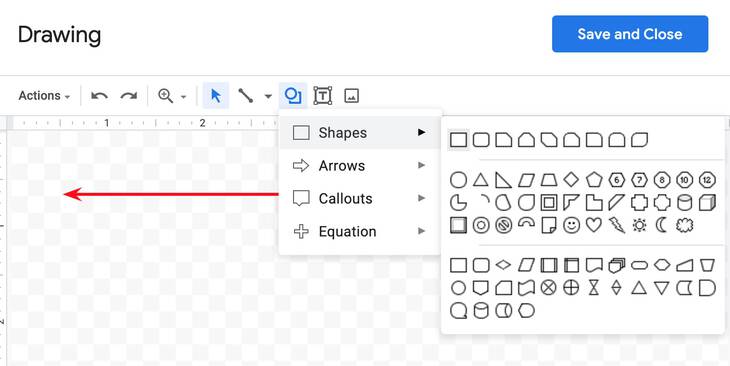
- We need a line, so we can use the line button in the tool bar. clicking on the arrow on the right of it will open the line style selection box, we can choose between many styles. In my case I will select an arrow style, as I want something out of the basic line.
- Once you draw your line you will be able to use the tools from the toolbar to change the color, thickness, dashing, and the style of both ends to suit your needs.
- Once you are satisfied, simply hit the “Save and Close” button.
- The program will crop the image to include only the line and cut all the white space around.
- There are some cases like mine, where this crop is a little too “aggressive”. In my example the program cuts the image to include only the line and so it cuts the upper and lower part of the arrows as you can see from the picture.
- To get around this little bug, I found a simple solution. I just add a little white (and so invisible) rectangle around the line. you need it to be just a little bigger than the line.
- To add it you have to get back to the Drawing edit window by just selecting the arrow and clicking on the edit button that will appear.
- Now you should select the Shape -> Shapes -> Rectangle menu item and then draw the rectangle around your drawing.
- The new rectangle will be probably created with a white fill color and black borders.
- To suit our needs we will change the fill color to transparent and the border color to white. You can do this using the tool on the tool bar that will appear when you draw the rectangle.
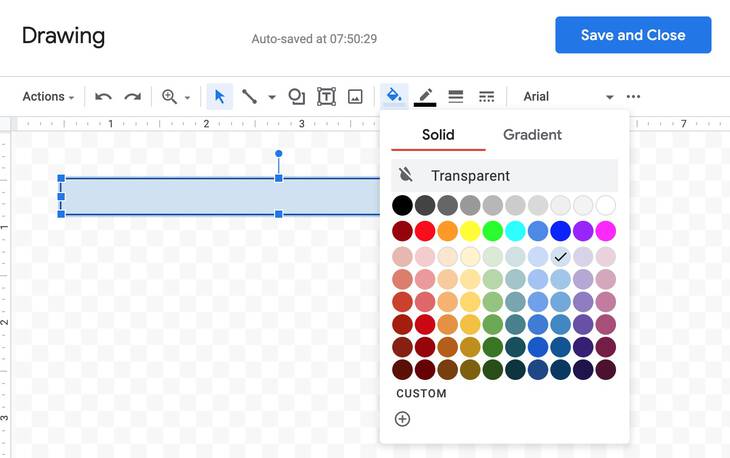
- Once you finished, you will have an “invisible” rectangle around your horizontal line.
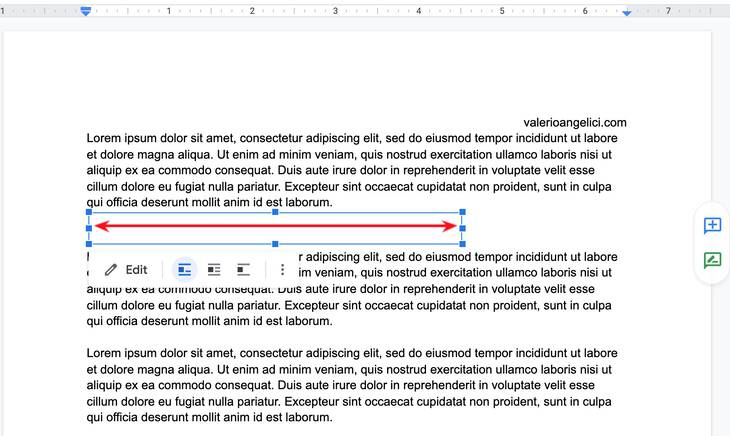
- Now you can click “Save and Close” to get back to the google document.
- At this point the drawing will be cropped around the rectangle, and the horizontal arrow should show up correctly.
That’s all, you now know how to insert a horizontal line in Google Docs in 3 different ways.