Highlighting text when you study something is a common method to mark the most important things so you can get back and find them later.
With the diffusion of computers and word processing softwares, highlighting text took a big step up. Now you can highlight text, but you can even remove the highlighting afterwards. This opened a big chink of possibilities, you can for example temporary highlight portions of a text you are editing and need to be reviewed or rewritten later.
If you are beginning with google docs and you’re an “highlighting fan”, the first thing you probably asked yourself is “how do I highlight text on Google Docs?”. Follow me and I will explain some different ways.
Highlight text on Google Docs – The standard way
The easiest way to highlight text is by using the standard google docs highlight feature. If you’re an occasional highlighter this method will probably be more than enough for your needs.
This method is quick and needs only a few clicks to complete.
- The first step is obviously to open the google doc you need to highlight.
- Then you need to find the text you wish to highlight and select it either with your mouse or with the keyboard.
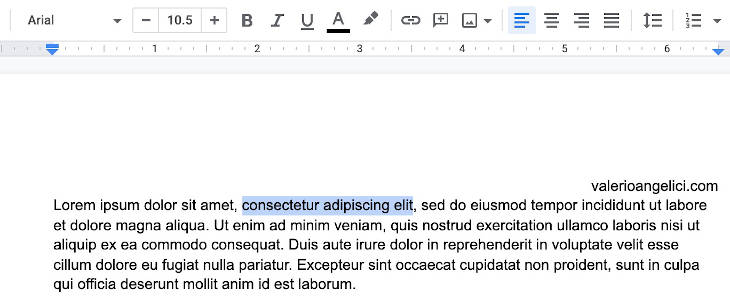
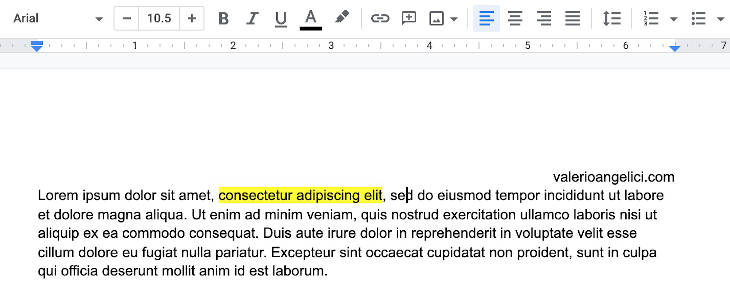
- With the text selected, the next step is to find the “Highlight color” button on the google doc toolbar. It’s located between the “Text color” and the “Insert link” tools.
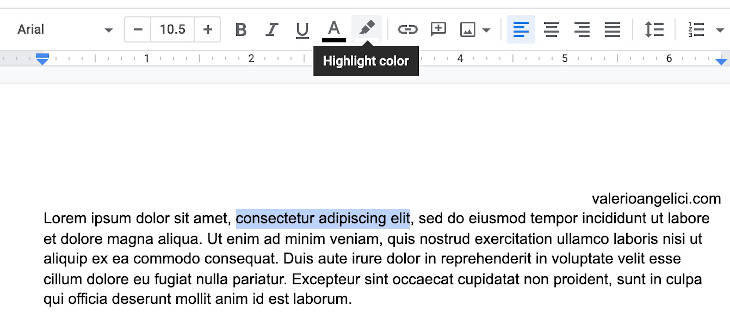
- Once you find it, you need to click on it, a color selection panel will be displayed, the easiest way is to click on the color you want. The panel will close and the text will be highlighted.
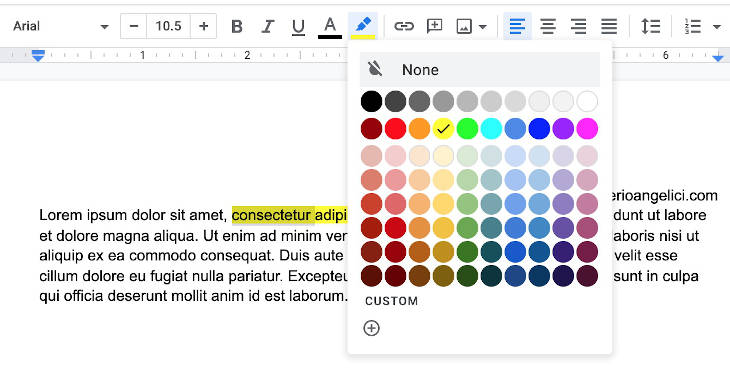
- If you don’t like the default colours, you can click on the “custom” button to open another window to pick the color you want from the palette or with the hex code if you know it.
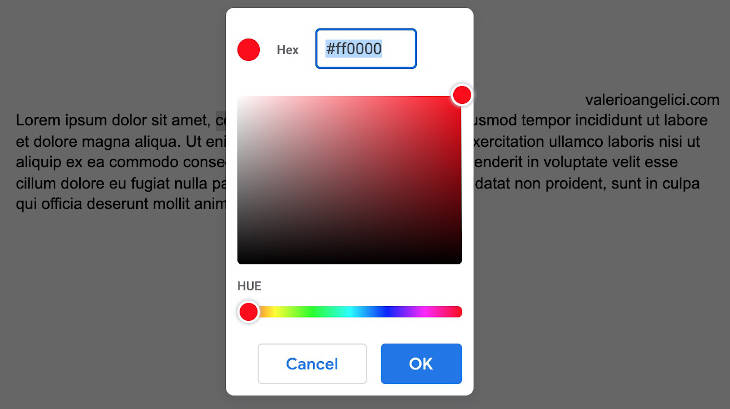
- Once you selected the color, you just need to remove the text selection and the highlighted text will show up.
Remove highlight from the text
As we said in the introduction, one of the advantages of computer word processing is that you can easily remove highlight from the text. Let’s se how to do it on google docs.
- If highlighting the text is the last operation you just did on the editor, you can undo it with the undo tool, even from the menu File -> Undo or with the universal <Ctrl> + z or <Command> + z shortcut.
- If you did something else and you need to remove an older highlight, you need to select the text you want to remove the highlight from.
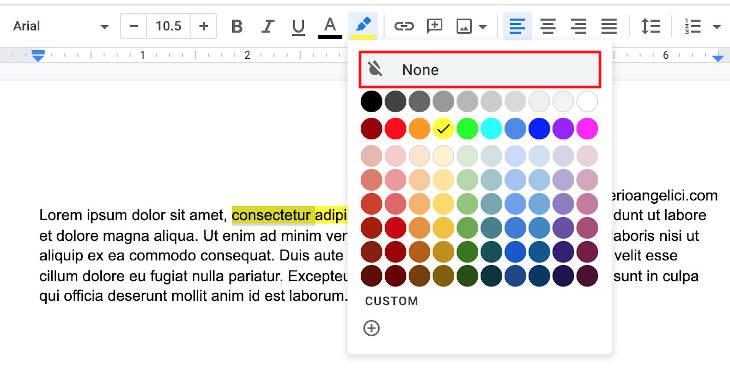
- Then you click on the “Highlight color” button again.
- From the color selection panel you should now select “None”.
Highlight text on Google Docs – The “highlighter fan” way
If you’re a fan of highlighting, the standard highlighting could too simple for your needs.
Fortunately Google Docs offers a large plugin selection, and there’s a plugin dedicated to highlighting and organizing highlighted text.
Keep in mind that plugins are normally developed by external developers not from Google, so you use plugins at your own risk. If you want make further research on the proposed plugin before installing it, but don’t blame me if something goes wrong with it for whatever reason.
- The first thing, as always, is to open your document in Google Docs.
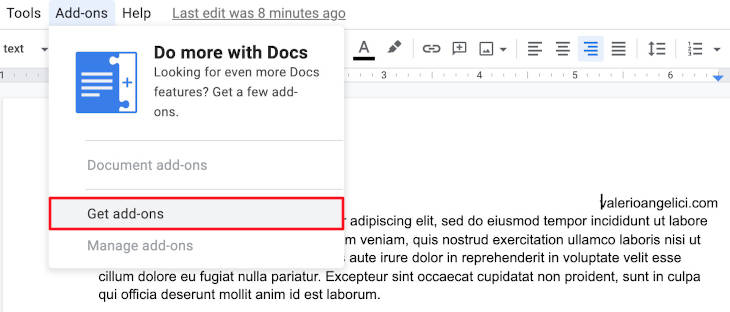
- Then click on the “Add-ons” menu in the menu toolbar.
- From the Add-ons menu choose “Get Add-ons”.
- A new window will appear with the Google Workspace Marketplace. Here you should search for “Highlight Tool”.
- There is more than one plugin for highlighting. You could try many to find the one with the features you need, but for this example we will select the first one.

- Just click on it, and in the next step click on install.
- A new popup will ask your permission to install the plugin, click on Continue to proceed.
- Then you have to select your google account, and allow Highlight tool to access your Google Docs documents. This is the risky part, you are giving this tool access to your documents, so if you don’t trust the plugin developers this is the the moment to stop and cancel everything.
- If you decided to continue, the installation will progress, and a short informative window will inform you that the plugin is ready.
- Now we can get back to our documents.
- If you click again on the “Add-ons” menu item, now you should see a new “Highlighting tool” option.
- Click on Start from the “Highlighting tool” submenu.
- A new “Highlight Tool” window should show up. You can use the “Highlighter Library” to configure various highlighters with different colors and different names.
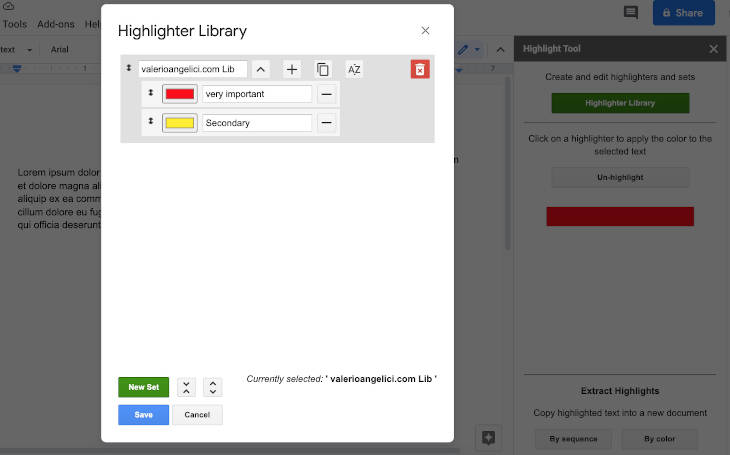
- Once you configured the various color sets, you can select some text and click on the color to apply the highlighter.
- One of the interesting features of this tool is the ability to export the highlighted text to a new document. With this feature you can read a long document, highlight along the way the most important things, and then export the highlighted text to have a new document with the parts you need. You can find this function on the bottom side of the Highlight tool window.